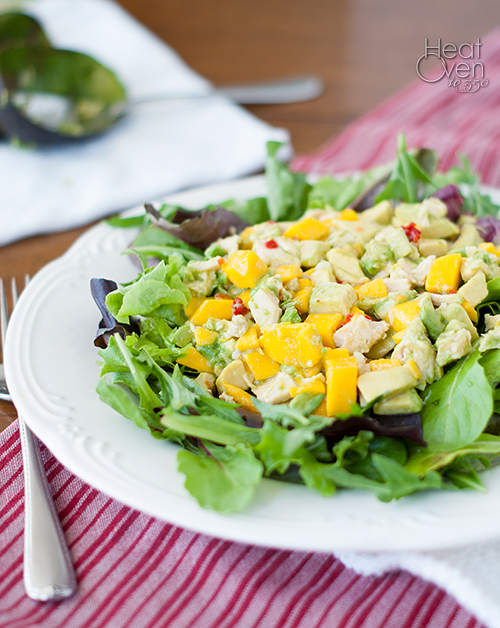
Mango and avocado make one of my favorite flavor combinations. There is something tropical and refreshing about it. With spring greens and chicken in a salad that refreshing flavor becomes an entire meal. A happy, tropical vacation meal. Especially when add on the simple tangy/sweet/spicy lime dressing. This salad says "summer" and "relaxing by the pool"and all kinds of wonderfully sunny things. It is light, healthy, and filling, and easy to make and it makes a perfect lunch or light dinner. Throw it together, eat it outside on the porch, and enjoy that summer is here.
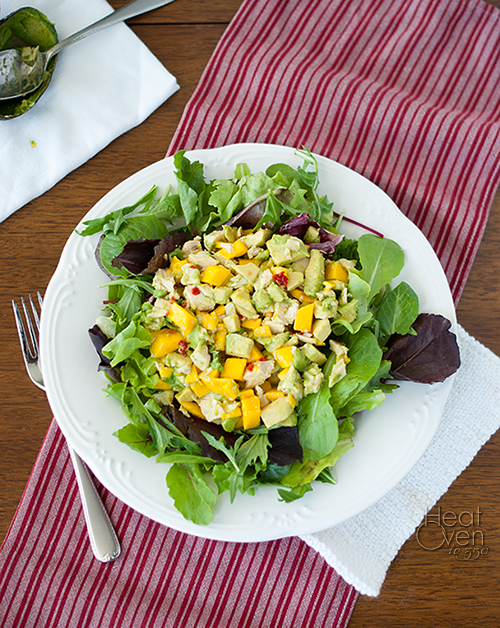
Mango Chicken Avocado Salad
Published 05/27/2014
Ingredients
- 2 tablespoons brown sugar
- 1/4 cup water
- 1/3 cup lime juice
- 3/4 teaspoon chili garlic sauce
- 4 cups shredded, cooked chicken
- 2 medium mangos, peeled, seeded and diced
- 2 medium avocados, pitted and diced
- 1 (10 ounce) package spring lettuce mix
Instructions
- In a microwave safe bowl, combine brown sugar and water and microwave 1 minute. Stir until sugar is dissolved (microwaving more if necessary) and stir in lime juice and garlic sauce. (If you can make the dressing a day or at least a couple hours ahead of time it is even better.)
- In a large bowl, gently toss together the chicken, mango and avocado. Add 2 tablespoons of the lime dressing and mix.
- Divide the lettuce among four plates, then top with chicken mixture. Pour dressing to taste over each plate and serve.
Prep Time:10 mins.
Total time: 12 mins.
Recipe Source: Adapted from allrecipes.com